Changing your refresh rate
Lowering the refresh rate :
Why : Lowering your refresh rate might save you a bit of battery (your screen will use less energy) and allow you to get higher settings (or lower temps) when you use technologies such as Vsync to lock your frame rate to your screen’s refresh rate. So far the community has managed to make 46hz, 48hz, and 50hz work. Below 46hz does not seem possible after testing by YouTuber Phawx and Ayaneo Discord user DesignGears.
To do so you need to install CRU to manually create a resolution with the lowered refresh rate.
- click Edit when selecting the 1200p/60hz setting. Please note if you need to go back to the stock values, here’s a screenshot of them:
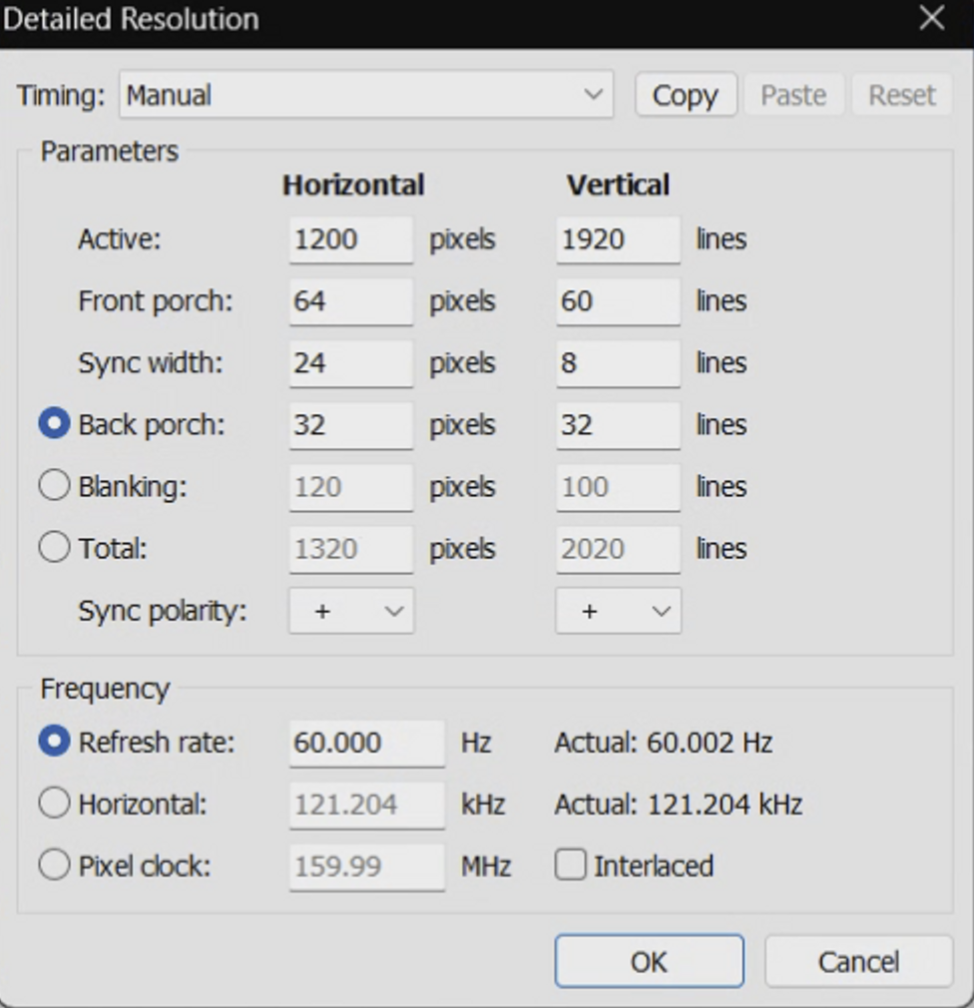
- Click the “Copy” button at the top, then hit “Cancel” to close the window.
- Back on the main CRU screen, click the “Add” button, then click “Paste” at the top to add values from the previous resolution
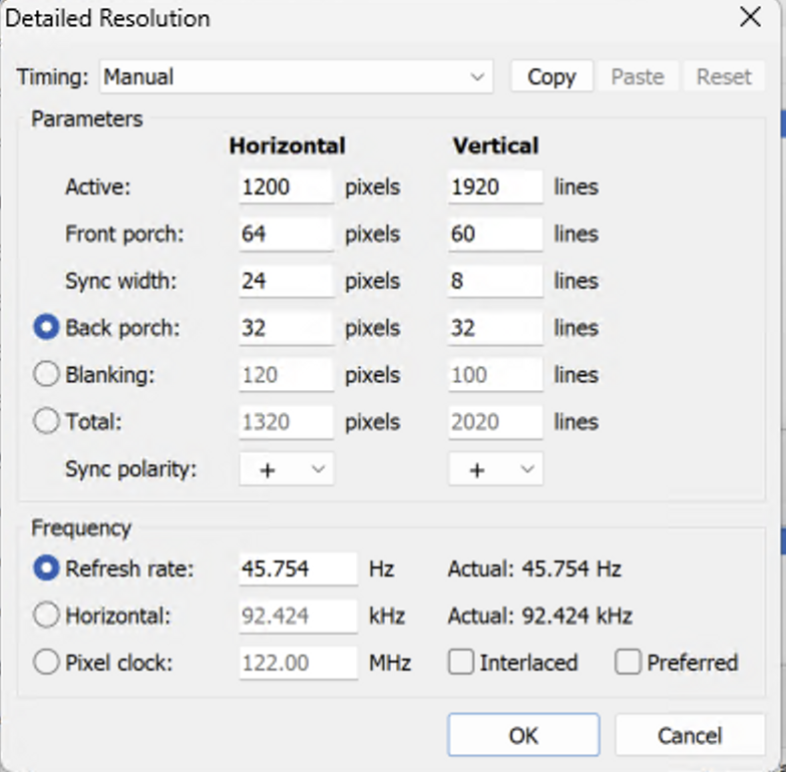
- Now edit the Refresh Rate value at the bottom to match this screen
- Click OK twice to save and close the app
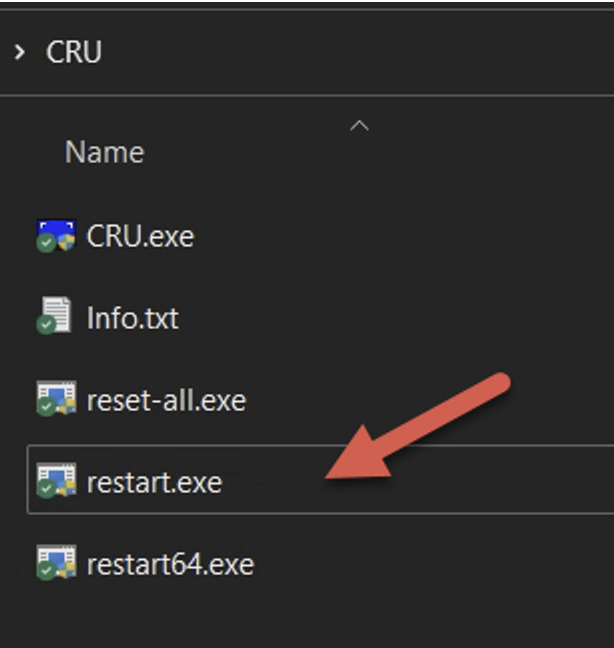
- Now run the “restart.exe” file in the CRU folder to refresh your display settings
- You can now select the new refresh rate from your Windows resolution settings. To do this right click on your bare desktop and select “Display settings”. On the window that opens, select “Advanced display”, then change the refresh rate drop down box to “46 Hz”. Your screen will flash to set the new refresh rate. Hit “Keep changes” - then you’re all set.
- If you notice any issues displaying the new refresh rate, go back into Display Settings and change your refresh rate back to 60 Hz. Not all screens will work with 46 Hz. You may need to try 48 Hz or 50 Hz in CRU following the same steps as above.
Note : in Playnite, you can use the Resolution Changer extension to bind different refresh rates to different games (via @voitta)